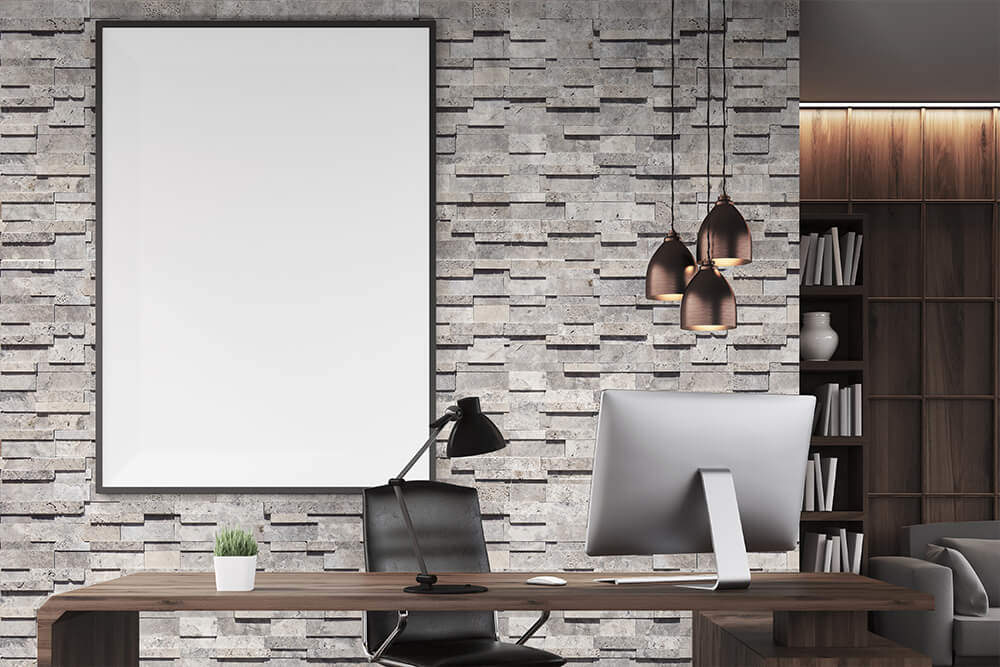
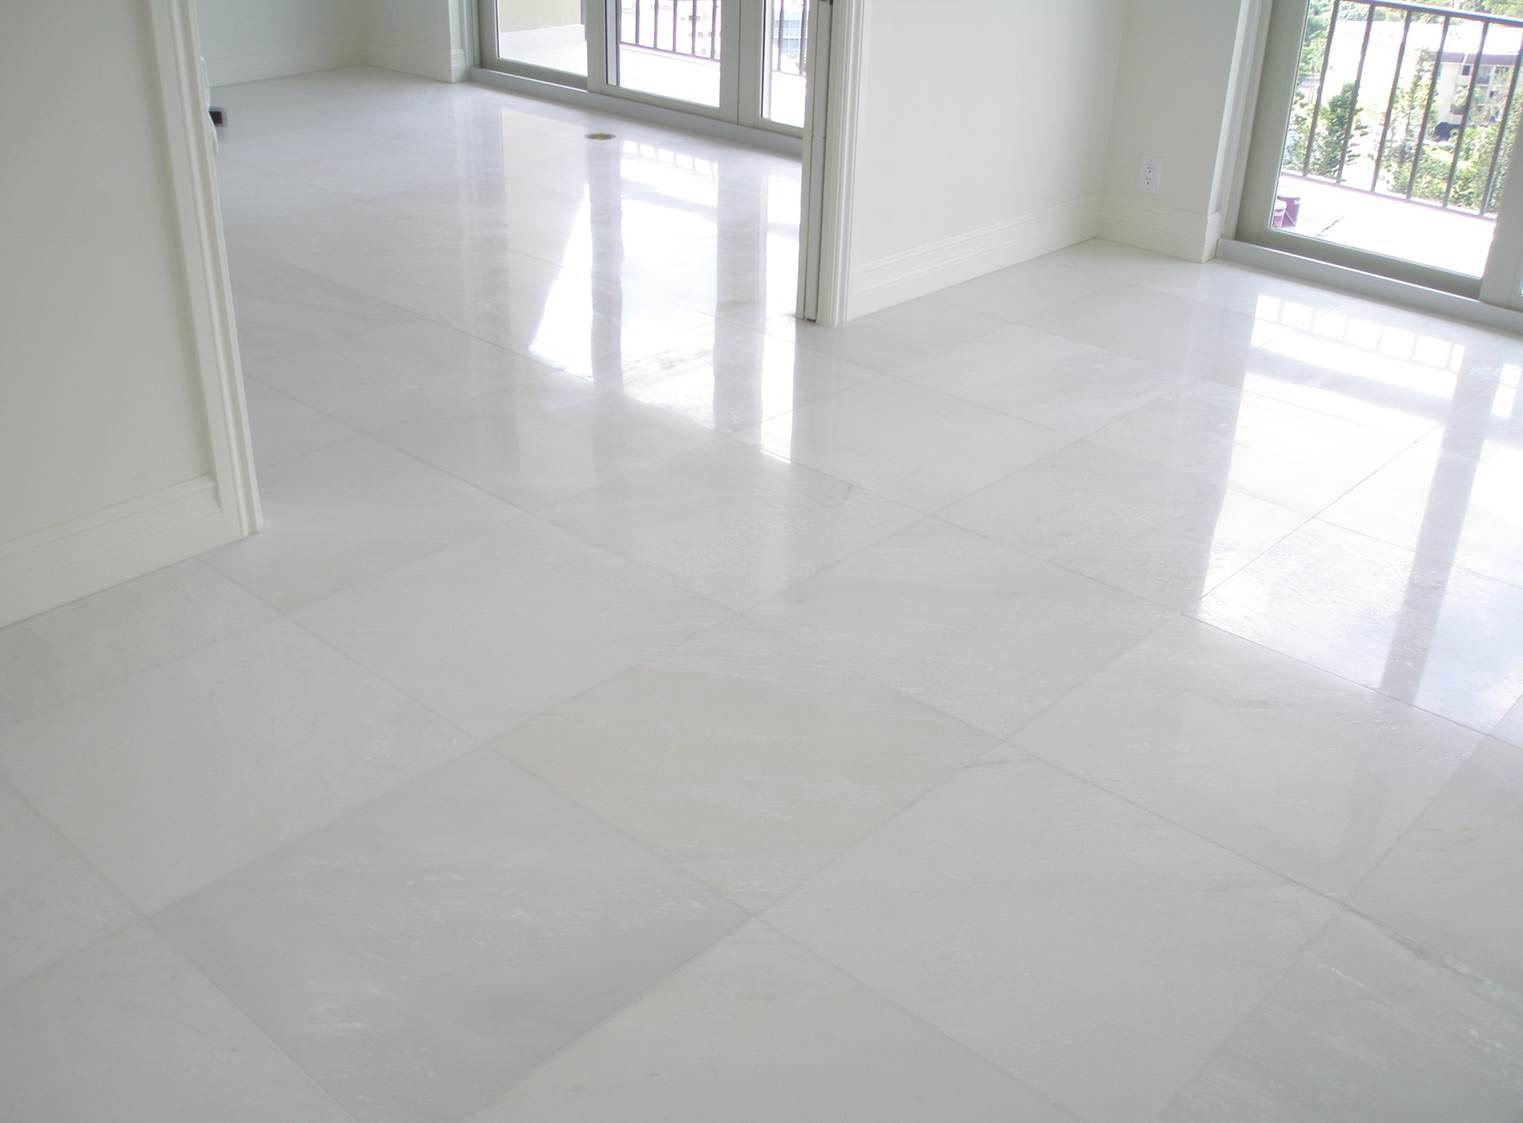
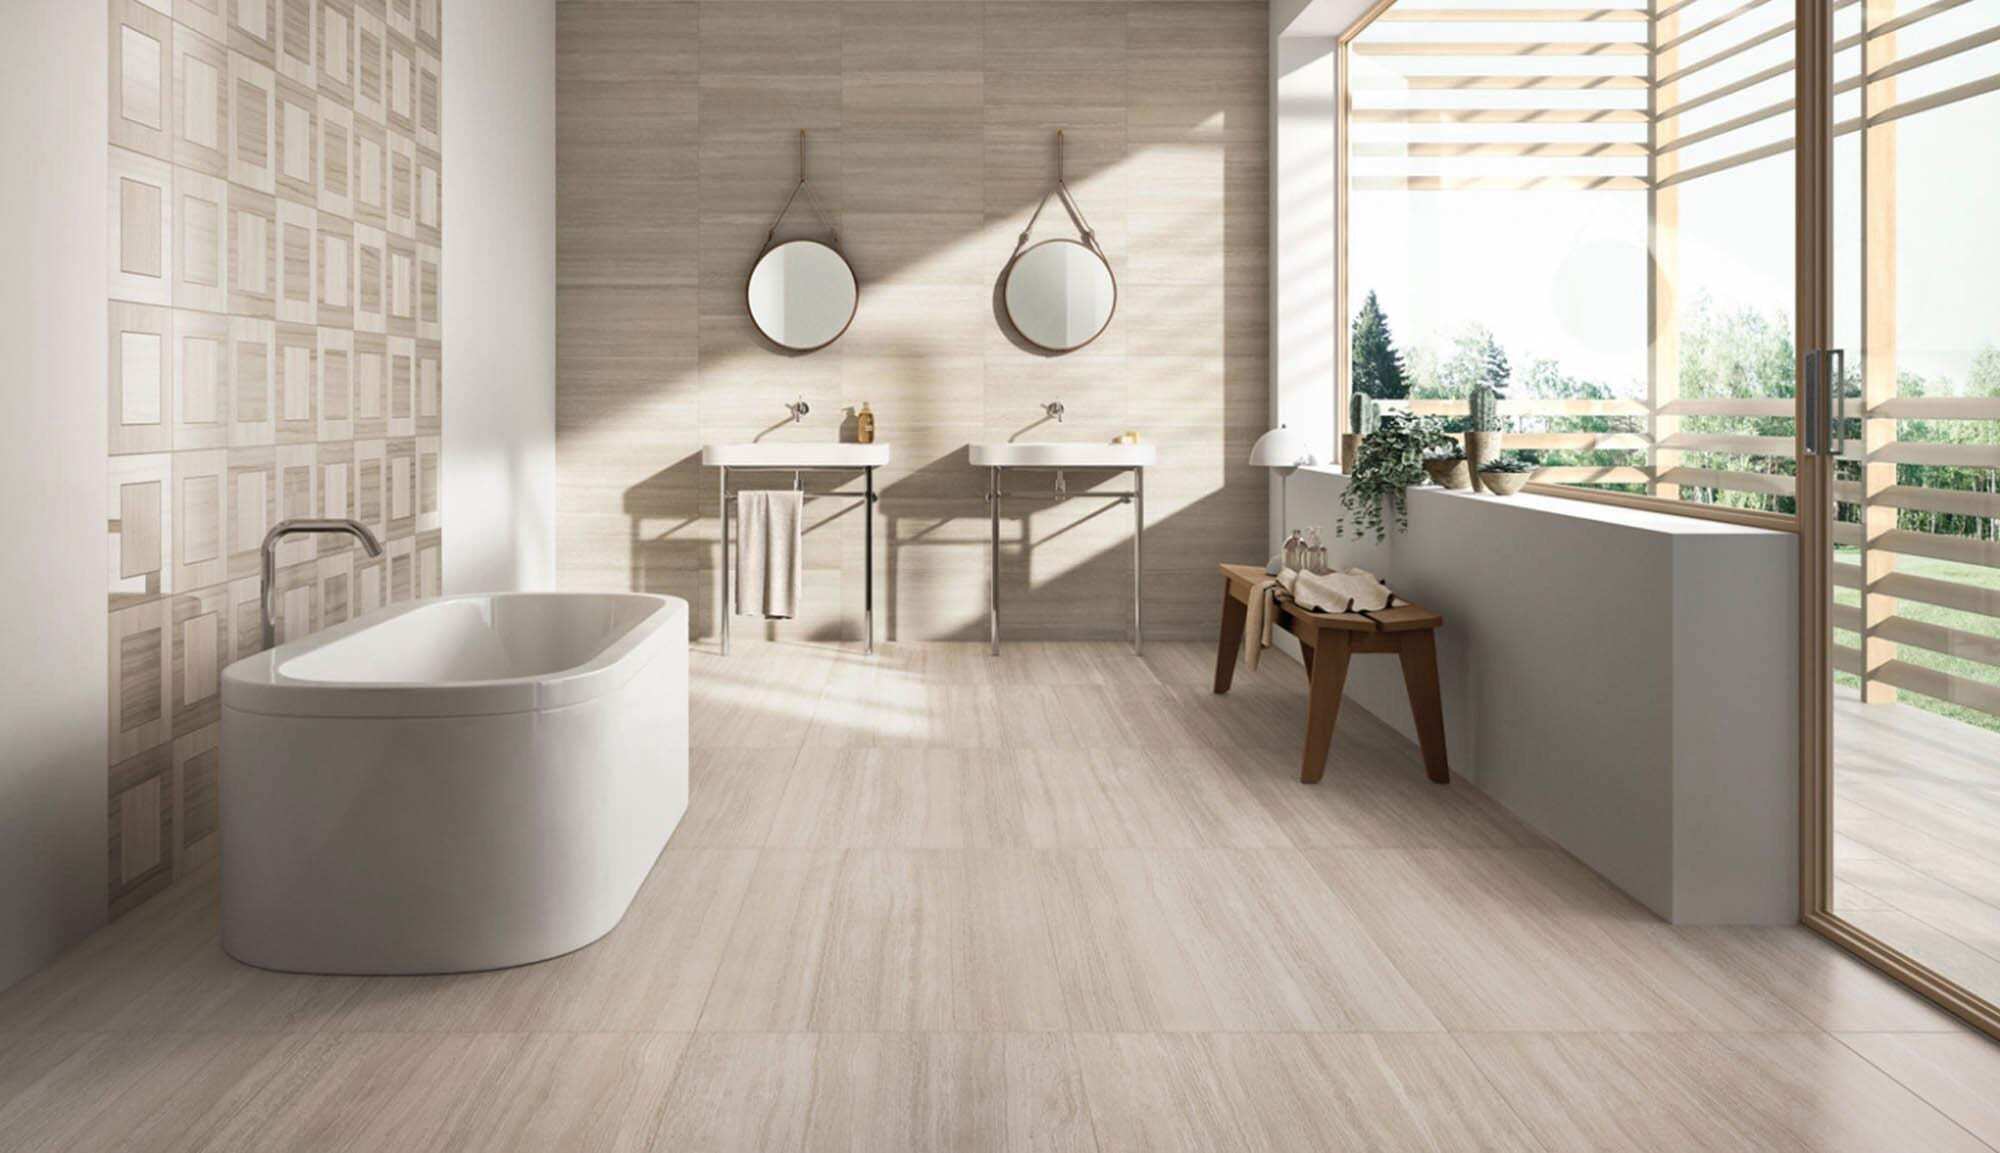
Stone veneer has a completely rustic and irregular finish, reminiscent of country and farm houses. Stone veneer can be used for exterior and interior walls and exterior floors giving your home a warm and welcoming feeling. Ideal for garden areas and terraces, whether on walls or floors. Stone veneers have been used for thousands of years, and are completely natural and authentic. Each piece is unique in appearance, texture and color.

Installing Stone Veneer in an Accent Wall
- The most effective application of stone veneer in the house is in a single wall that is bound everywhere by other walls that will capture the ends of the sheet. Stone plating is designed to be seen from the front. Use a tape measure to measure the area and add 10% more to account for cutting and overlapping material.
- Prepare the wall for the stone veneer installation. Remove the base of the wall and the electric cover plates. Make sure the wall is dry and clean. Protect electrical devices such as outlets or light switches with a wrap or plastic tape. Also be sure to fix the protective material on the floor.
- Install a moisture barrier and slats over the existing wall. Staple house wrap material or construction paper to the wall. Apply ribbon over the moisture barrier. Use 1 5/8 inch flat head screws to screw the slat into the wall studs. Space the screws about 6 inches apart. The overlaps on the barrier and moisture barrier should be at least 6 inches.
- Apply a layer of mortar on the slat. Mix the mortar type “S” according to the manufacturer’s instructions and apply a layer to the mesh. The total thickness of the mortar should be between ½ and ¾ inches. Use a notched side of the trowel to create horizontal grooves on the surface once it begins to harden. This will help the stones to adhere in the next step. Be sure to give the mortar time to dry before moving on to the next step, about 48 hours.
- Apply the stones on the wall. Apply a layer of mortar to the back of the veneer stones and to the adhesion layer as well. Press each stone into the mortar, working back and forth slightly to ensure a solid fit. Make sure you stagger the joints between the stones to maintain a natural appearance. Don’t worry about slight mortar that escapes between the stones, that can be cleaned later. Use a wet tile cutter to cut stones as applicable at the ends of the wall.
- Apply grout between the stones. Once the stones have been established for approximately 4 hours, you can begin to apply grout between the stones if necessary. Some stone patterns are designed to be tightly adjusted without grout. Skip this step if applicable. Extra grout and mortar can be cleaned from the stone sheet with a grout brush after allowing it to settle for about 45 minutes.
- Remove the protection, and the stone cladding installation will be complete.
Tips
- When cutting stones, try not to cut a large number of perfectly straight lines. Occasionally use a hammer and chisel to sculpt edges so that they do not appear to have been cut with a blade, giving it a more rustic finish.
- Wear protective glasses and gloves, especially when cutting a chiseled stone.
Stone veneers will elevate any space adding a touch of interest and a ton of value to your house. To maintain its beauty, once the product is washed, it is recommended you apply a specialized sealant for travertine or marble to avoid fungi growth and the change in color of the stone over time. If you are considering stone veneers for your home see our veneer collections, the elegant yet understated White Wood collection is a favorite and will not disappoint.


